Jenkins installation is similar to that of any other software platform installation. Jenkins requires Java to be installed. This can be installed on a variety of platforms, including bare metal hardware in datacenters, virtual machines running on various hypervisor platforms, cloud platforms, and container platforms.
Jenkins supports Linux distributions, Windows operating system, and container platforms such as Dockers. Jenkins 64-bit is preferable for additional features and functionality.
Hardware requirements are minimal.
Container Platform: 1 GB HDD, 256 MB RMA
Operating Systems for bare metal: 1GB RAM, 10GB HDD, and 1 CPU
With above you can deploy the Jenkins and play around within lab environment but in real industry scenarios at 32 GB RAM , 1 TB HDD and 8vCPUs or more is required based on requirements of jobs processing.
Let see Jenkins installation on Linux platform.
Java needs to be installed and configured on the server on which you want to configure Jenkins. OpenJDK is preferred with Jenkins, but you can also use any other version of Java.
Installing OpenJDK Java 11:
dnf install -y java-11-openjdk-devel java-11-openjdkJenkins can be installed in three different ways.
Individual RPM: Individual RPMs are available for every version of Jenkins, but dependencies must be resolved manually.
Jenkins Yum Repository: A Yum repository for Jenkins packages is provided. Dependent packages will be installed automatically in this case.
Generic Web Archive: To function, this Java web archive must be executed using a java command or deployed on a Jave EE server (e.g., Apache Tomcat).
We prefer to use the Jenkins individual RPM package because it is simple to understand and automatically resolves software dependencies.
To download Jenkins individual RPM package , use the wget command. Install it right away.
dnf install -y wgetLater, you can easily install Jenkins by invoking dnf command. If you would like to use different version.
Please visit following link: https://archives.jenkins-ci.org/redhat-stable/
dnf install -y https://archives.jenkins-ci.org/redhat-stable/jenkins-2.375.2-1.1.noarch.rpm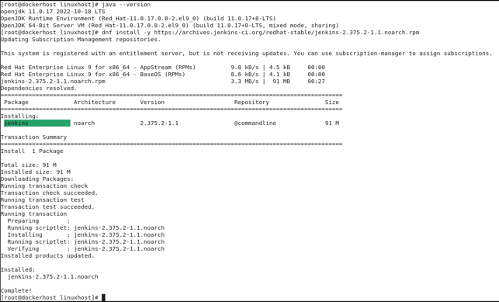
After installing Jenkins need to start and enable the services for Jenkins. Please note Jenkins uses by default port number 8080 however , it can be customized as per requirements.

Accessing Jenkins Web Interface:
To access Jenkins web interface, open URL http://<system-ip>:8080 in a web browser.

You can obtain the auto-generated password from the file, that was mentioned in above image.
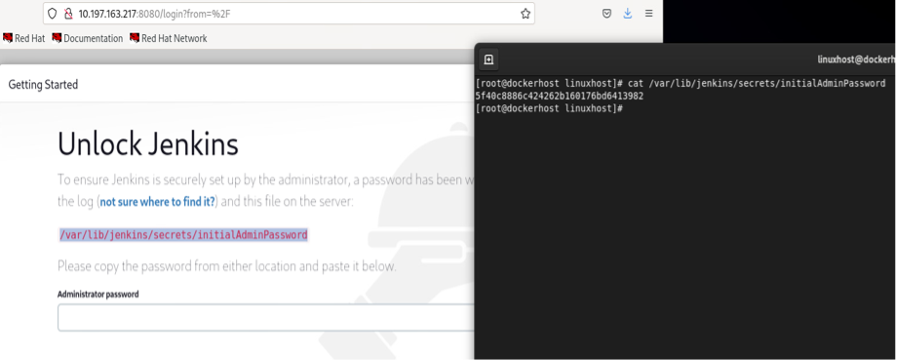
Enter the auto-generated password and click on “Continue”.
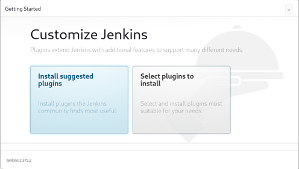
Jenkins setup is now asking for installing Plugins. You can either choose your required plugins or install suggested plugins.
Click on “Install suggested plugins”.
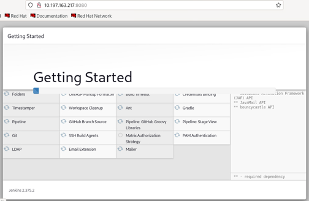
Jenkins setup is now installing commonly used plugins for your CI/CD software.
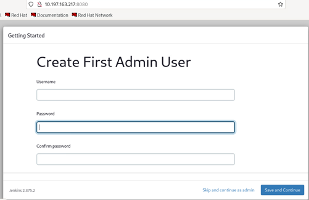
After installing plugins, Jenkins setup is now giving you the option to create an Admin user.
However, you can skip user creation and use the default admin user. But we strongly recommend that, you should create a custom admin user to improve security for your Jenkins web interface.
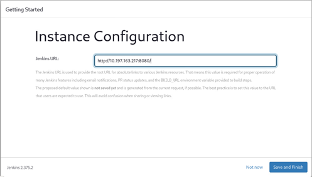
Verify the auto-generated Jenkins URL and click on “Save and Finish”.
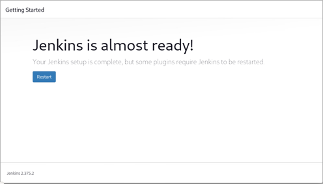
Jenkins setup has been completed. Click on “Start using Jenkins”.
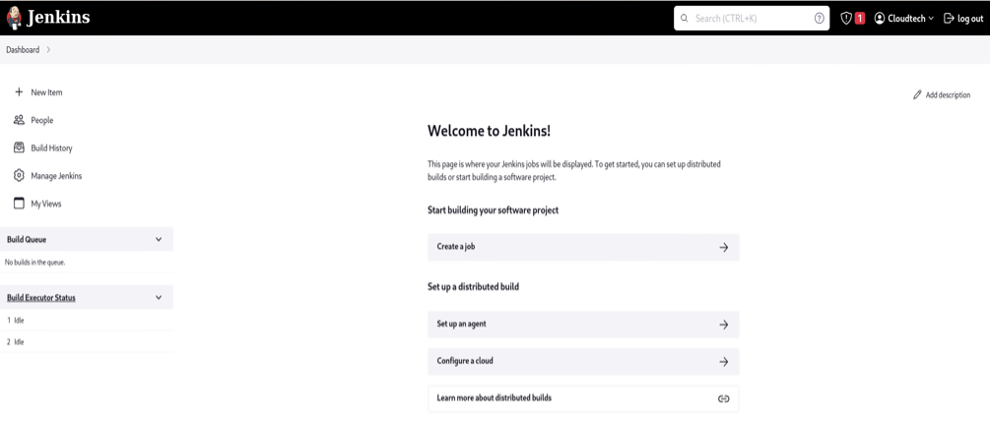
You have reached at the Dashboard of your Jenkins web interface.
Conclusion:
In this configuration guide, you have successfully learned how to install Jenkins on Linux 9 or other RPM based Linux distros.
